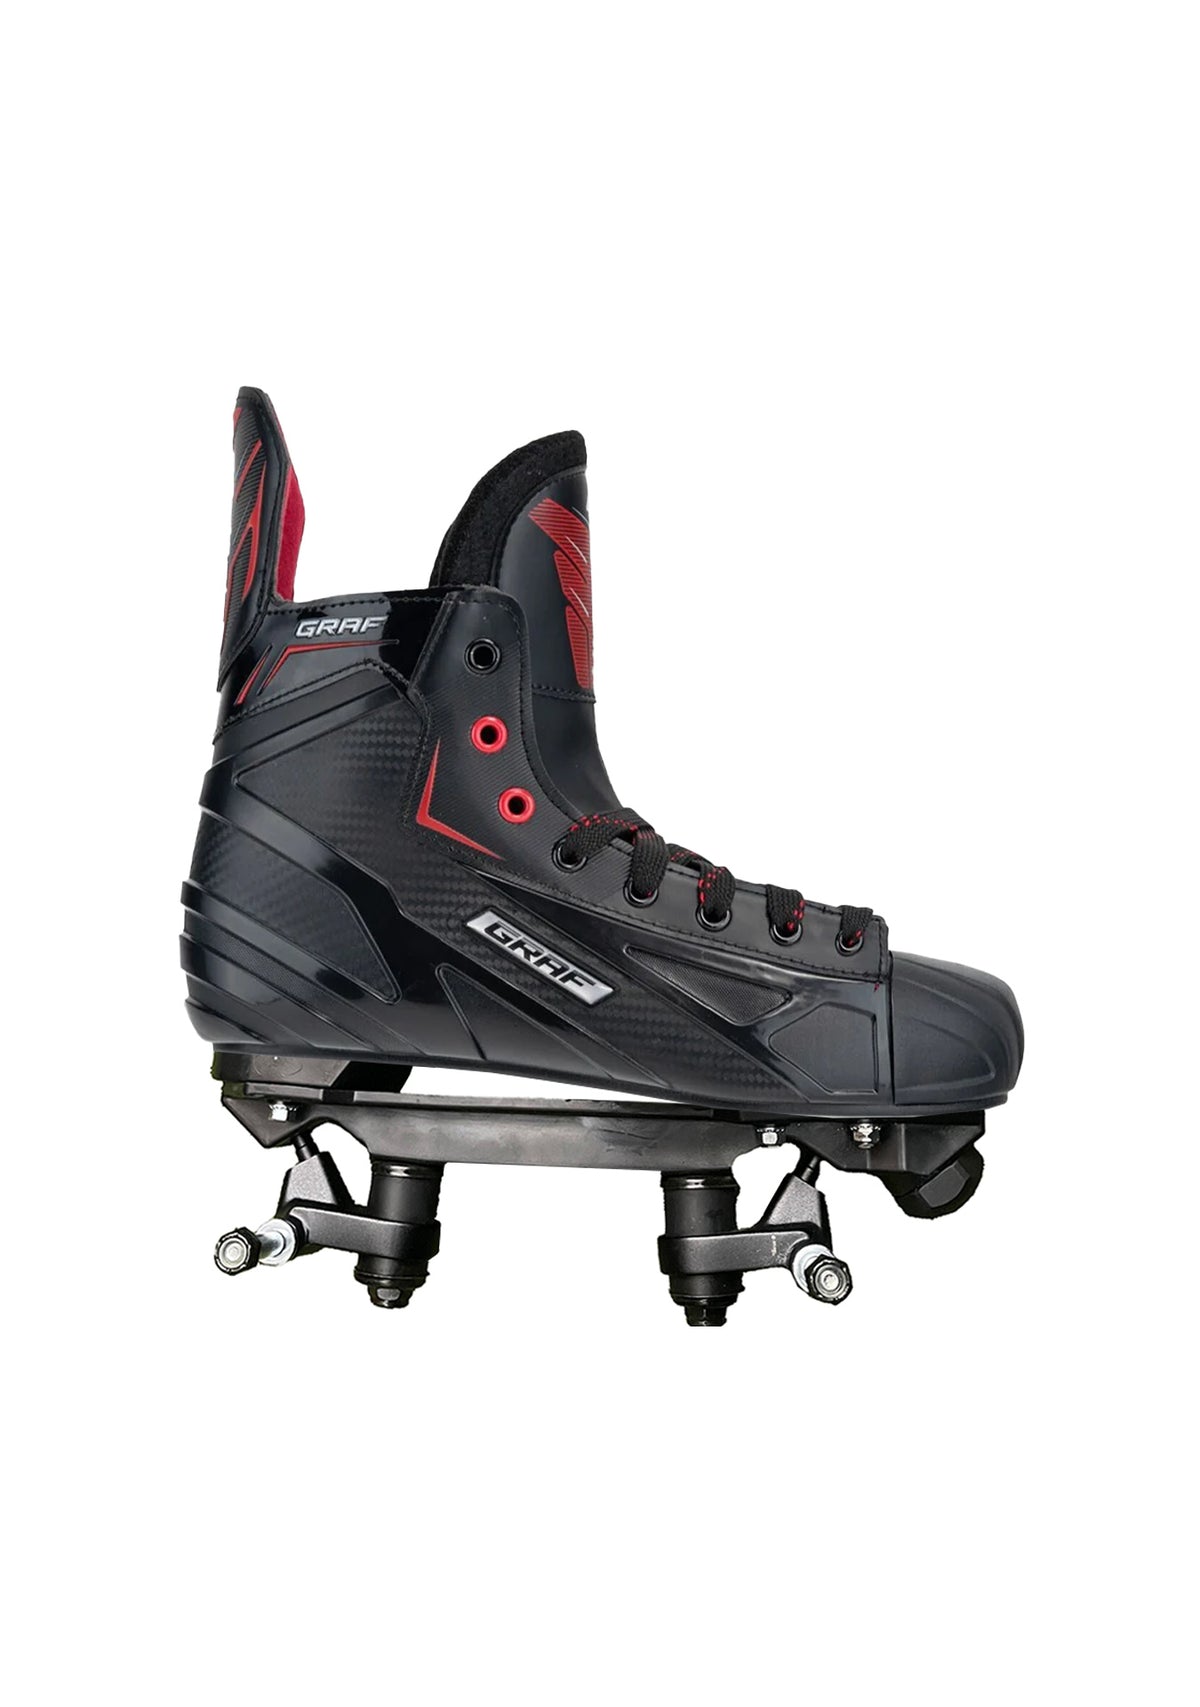
Hey, London skaters! Whether you're hitting up your local skatepark or cruising the streets, maintaining your skates is key to keeping the ride smooth and stylish. Today, we’re walking you through the process of changing your skate wheels. Let's get rolling!
What You’ll Need:
Before we begin, gather the following essentials:
- Wheels: We're using Airwave wheels for this tutorial.
- Bearings: Choose high-quality ones like ABEC-5 skate bearings.
- Spacers: Ensure they’re around 8mm for a snug fit.
- Axle Nuts: These secure your wheels.
- T-tool or Wrench: A must-have for adjusting nuts and bolts.
Step-by-Step Guide to Changing Your Skate Wheels
Set Up Your Workspace: Find a flat, stable surface to work on. Trust us, this makes the whole process easier.
-
Install the Bearings:
- Press one bearing into your skate wheel.
- Insert the spacer into the wheel. The spacer should fit snugly in the center.
- Add the second bearing on the other side of the wheel.
- Push down firmly to ensure everything sits in place.
-
Attach the Wheel:
- Slide the wheel onto the axle.
- Secure it with an axle nut using your T-tool or wrench.
- Pro tip: Use the smaller side of the T-tool for precision.
-
Adjust to Preference:
- Tighten the nut until the wheel is secure but can still spin freely.
- If it feels too tight, loosen it slightly.
Final Touches
Once you’ve replaced all your wheels, give them a test spin. If everything feels smooth, you're good to go! For this tutorial, we paired ABEC-5 bearings with blue Airwave wheels and finished the look with a blue plate and blue laces—stylish and functional.


0 comments